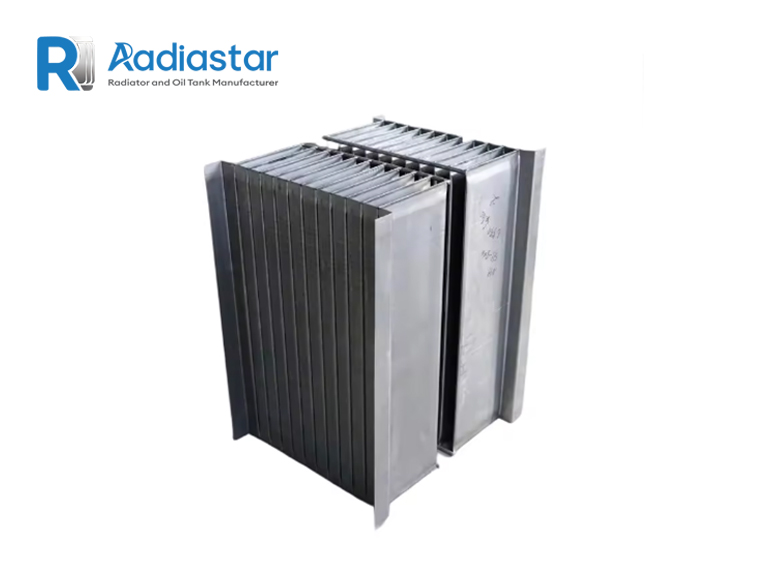

Transformer Radiator Installation Guide

Author: Radiastar
Updated: Aug 06, 2026
Read: 3 views

Transformer Radiator Installation Guide: Expert Experience from Design, Manufacturing and Quality Control Engineers

Introduction: Why Correct Transformer Radiator Installation Matters

As a transformer radiator design engineer and production quality specialist, we have participated in the design, manufacturing and installation support of transformer cooling components for many years.

Through continuous project experience, we have found that:

A high-quality transformer radiator can only achieve its designed cooling performance when installation is completed correctly.

Transformer radiators are not simply external heat dissipation devices. They are an important part of the transformer oil circulation system.

Incorrect installation may lead to:

  • Oil leakage
  • Poor heat dissipation
  • Air accumulation inside radiator panels
  • Abnormal temperature rise
  • Mechanical stress on transformer tank
  • Reduced transformer service life

Therefore, professional installation requires strict control of:

  • Position accuracy
  • Flange connection
  • Sealing performance
  • Bolt torque
  • Pressure testing
  • Final commissioning

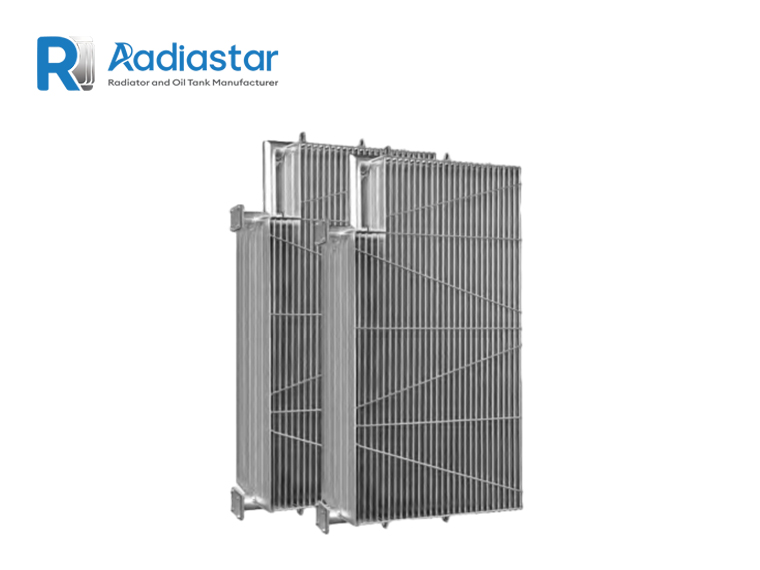
In this guide, Radiastar engineers explain the complete installation process of fixed transformer radiators based on practical manufacturing and field experience.
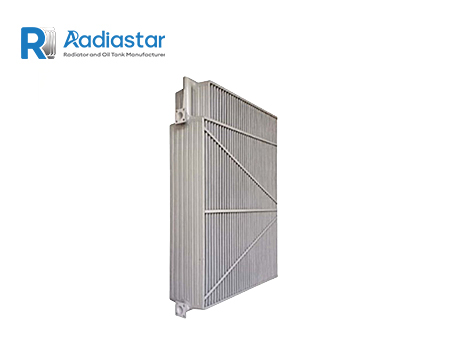
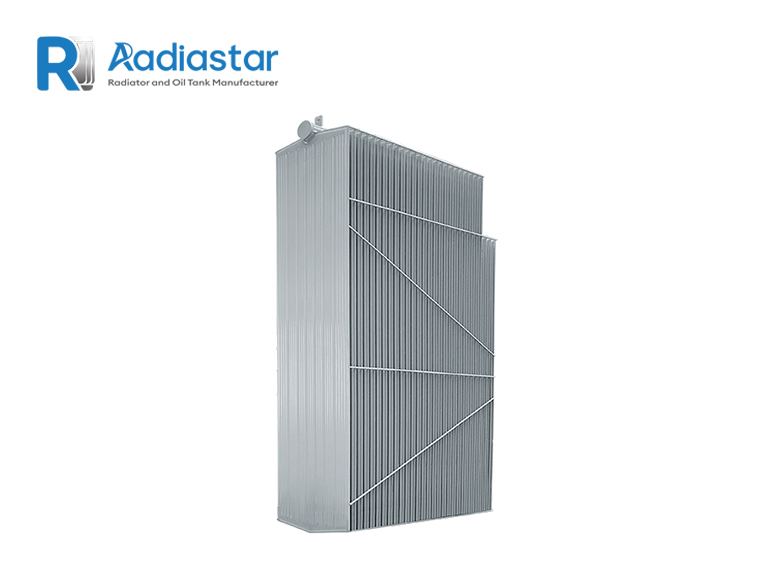
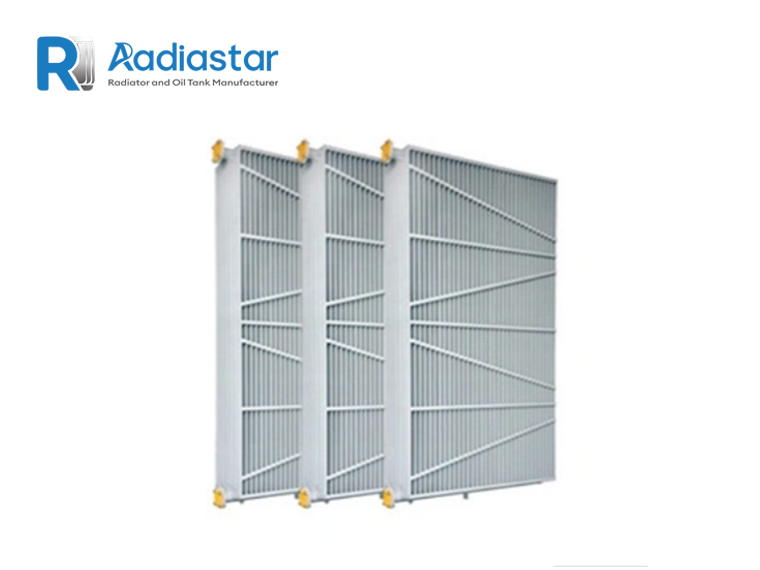
1. Understanding Fixed Transformer Radiators

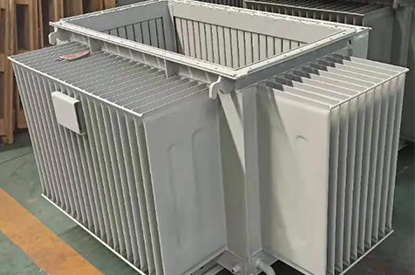
A fixed transformer radiator is mainly used for:

  • Oil immersed power transformers
  • Distribution transformers
  • Large electrical transformers

Its main function is:

  1. Receive hot transformer oil from the transformer tank
  2. Transfer heat through radiator panels
  3. Release heat into surrounding air
  4. Return cooled oil back to transformer tank

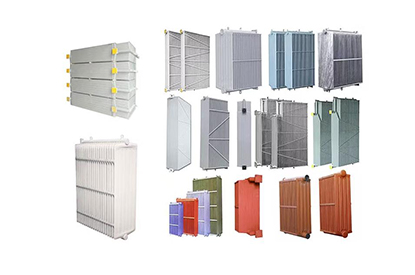
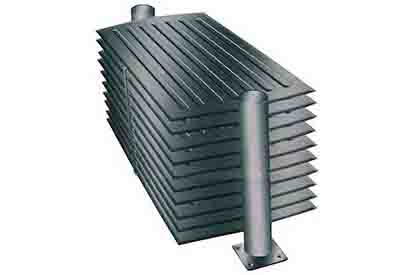
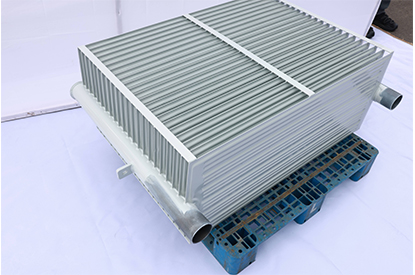
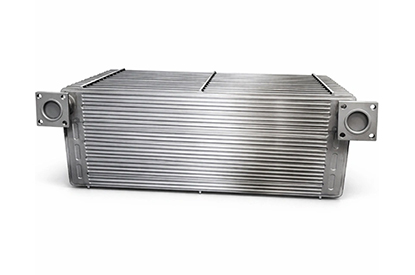
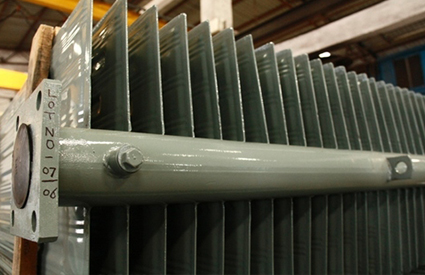
A typical radiator system includes:

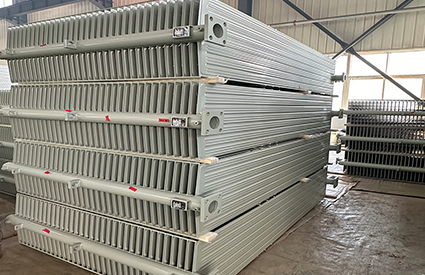
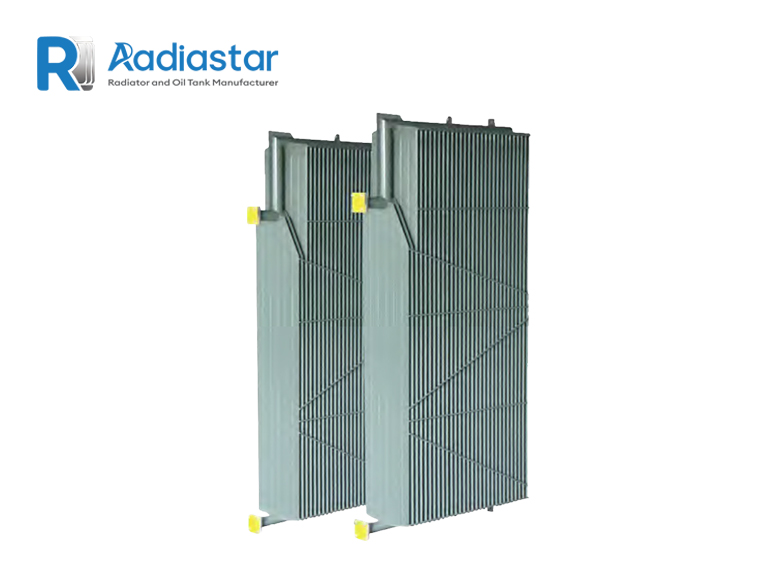
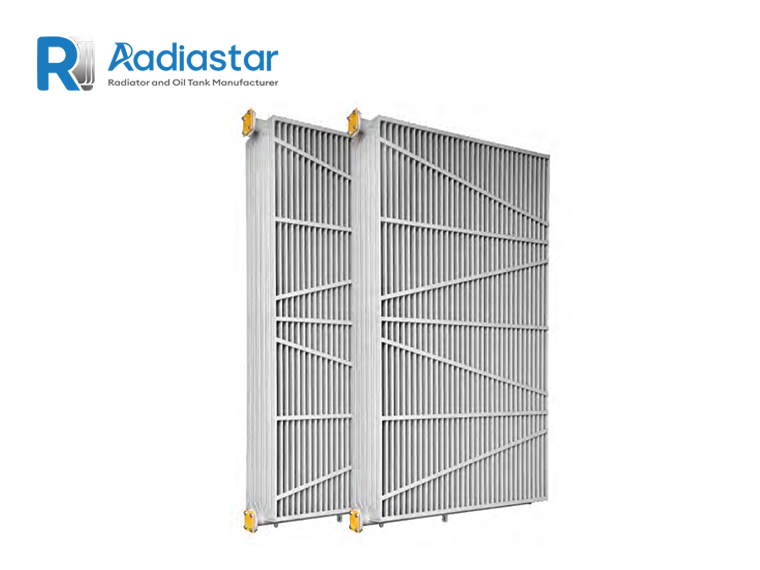
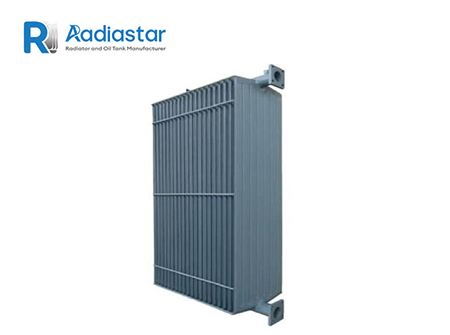
  • Radiator panels
  • Upper header pipe
  • Lower header pipe
  • Flanges
  • Butterfly valves
  • Oil circulation channels
  • Mounting brackets

The installation quality directly affects transformer cooling efficiency.

2. Preparation Before Transformer Radiator Installation

Before installation begins, professional engineers always perform four inspections:

2.1 Tools and Equipment Preparation

Required tools usually include:

Lifting Equipment

  • Crane
  • Forklift
  • Lifting belts
  • Special lifting tools

The lifting capacity must match radiator weight.

A single radiator unit normally weighs from:

100 kg to 500 kg or more

depending on:

  • Number of radiator panels
  • Cooling capacity
  • Transformer rating

Torque Control Tools

Professional installation requires:

  • Calibrated torque wrench
  • Measuring tools
  • Level instruments

Correct bolt torque is essential for preventing:

  • Oil leakage
  • Flange deformation
  • Seal failure

3. Transformer Radiator Inspection Before Installation

Before lifting the radiator, engineers check:

3.1 Model and Specification Verification

Confirm:

  • Radiator model
  • Number of panels
  • Connection diameter
  • Center distance
  • Flange dimensions

The radiator must match the transformer tank interface.

3.2 Visual Inspection

Check:

  • No deformation
  • No coating damage
  • No corrosion
  • No blocked oil channels

3.3 Flange Surface Inspection

The sealing surface must be:

  • Clean
  • Flat
  • Free from scratches

Any damage may cause:

  • Oil leakage
  • Long-term sealing failure

4. Step-by-Step Transformer Radiator Installation Process

Step 1: Install Support Structure

For ground-mounted radiators:

Engineers first install:

  • Support brackets
  • Foundation bolts
  • Mounting frames

The support level should be checked to ensure:

  • Stable installation
  • Correct vertical alignment
  • No additional stress on the transformer tank

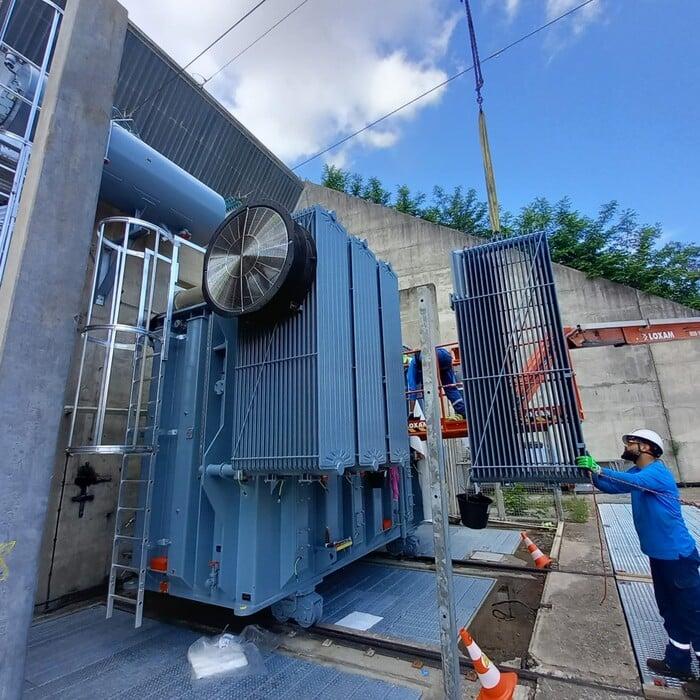
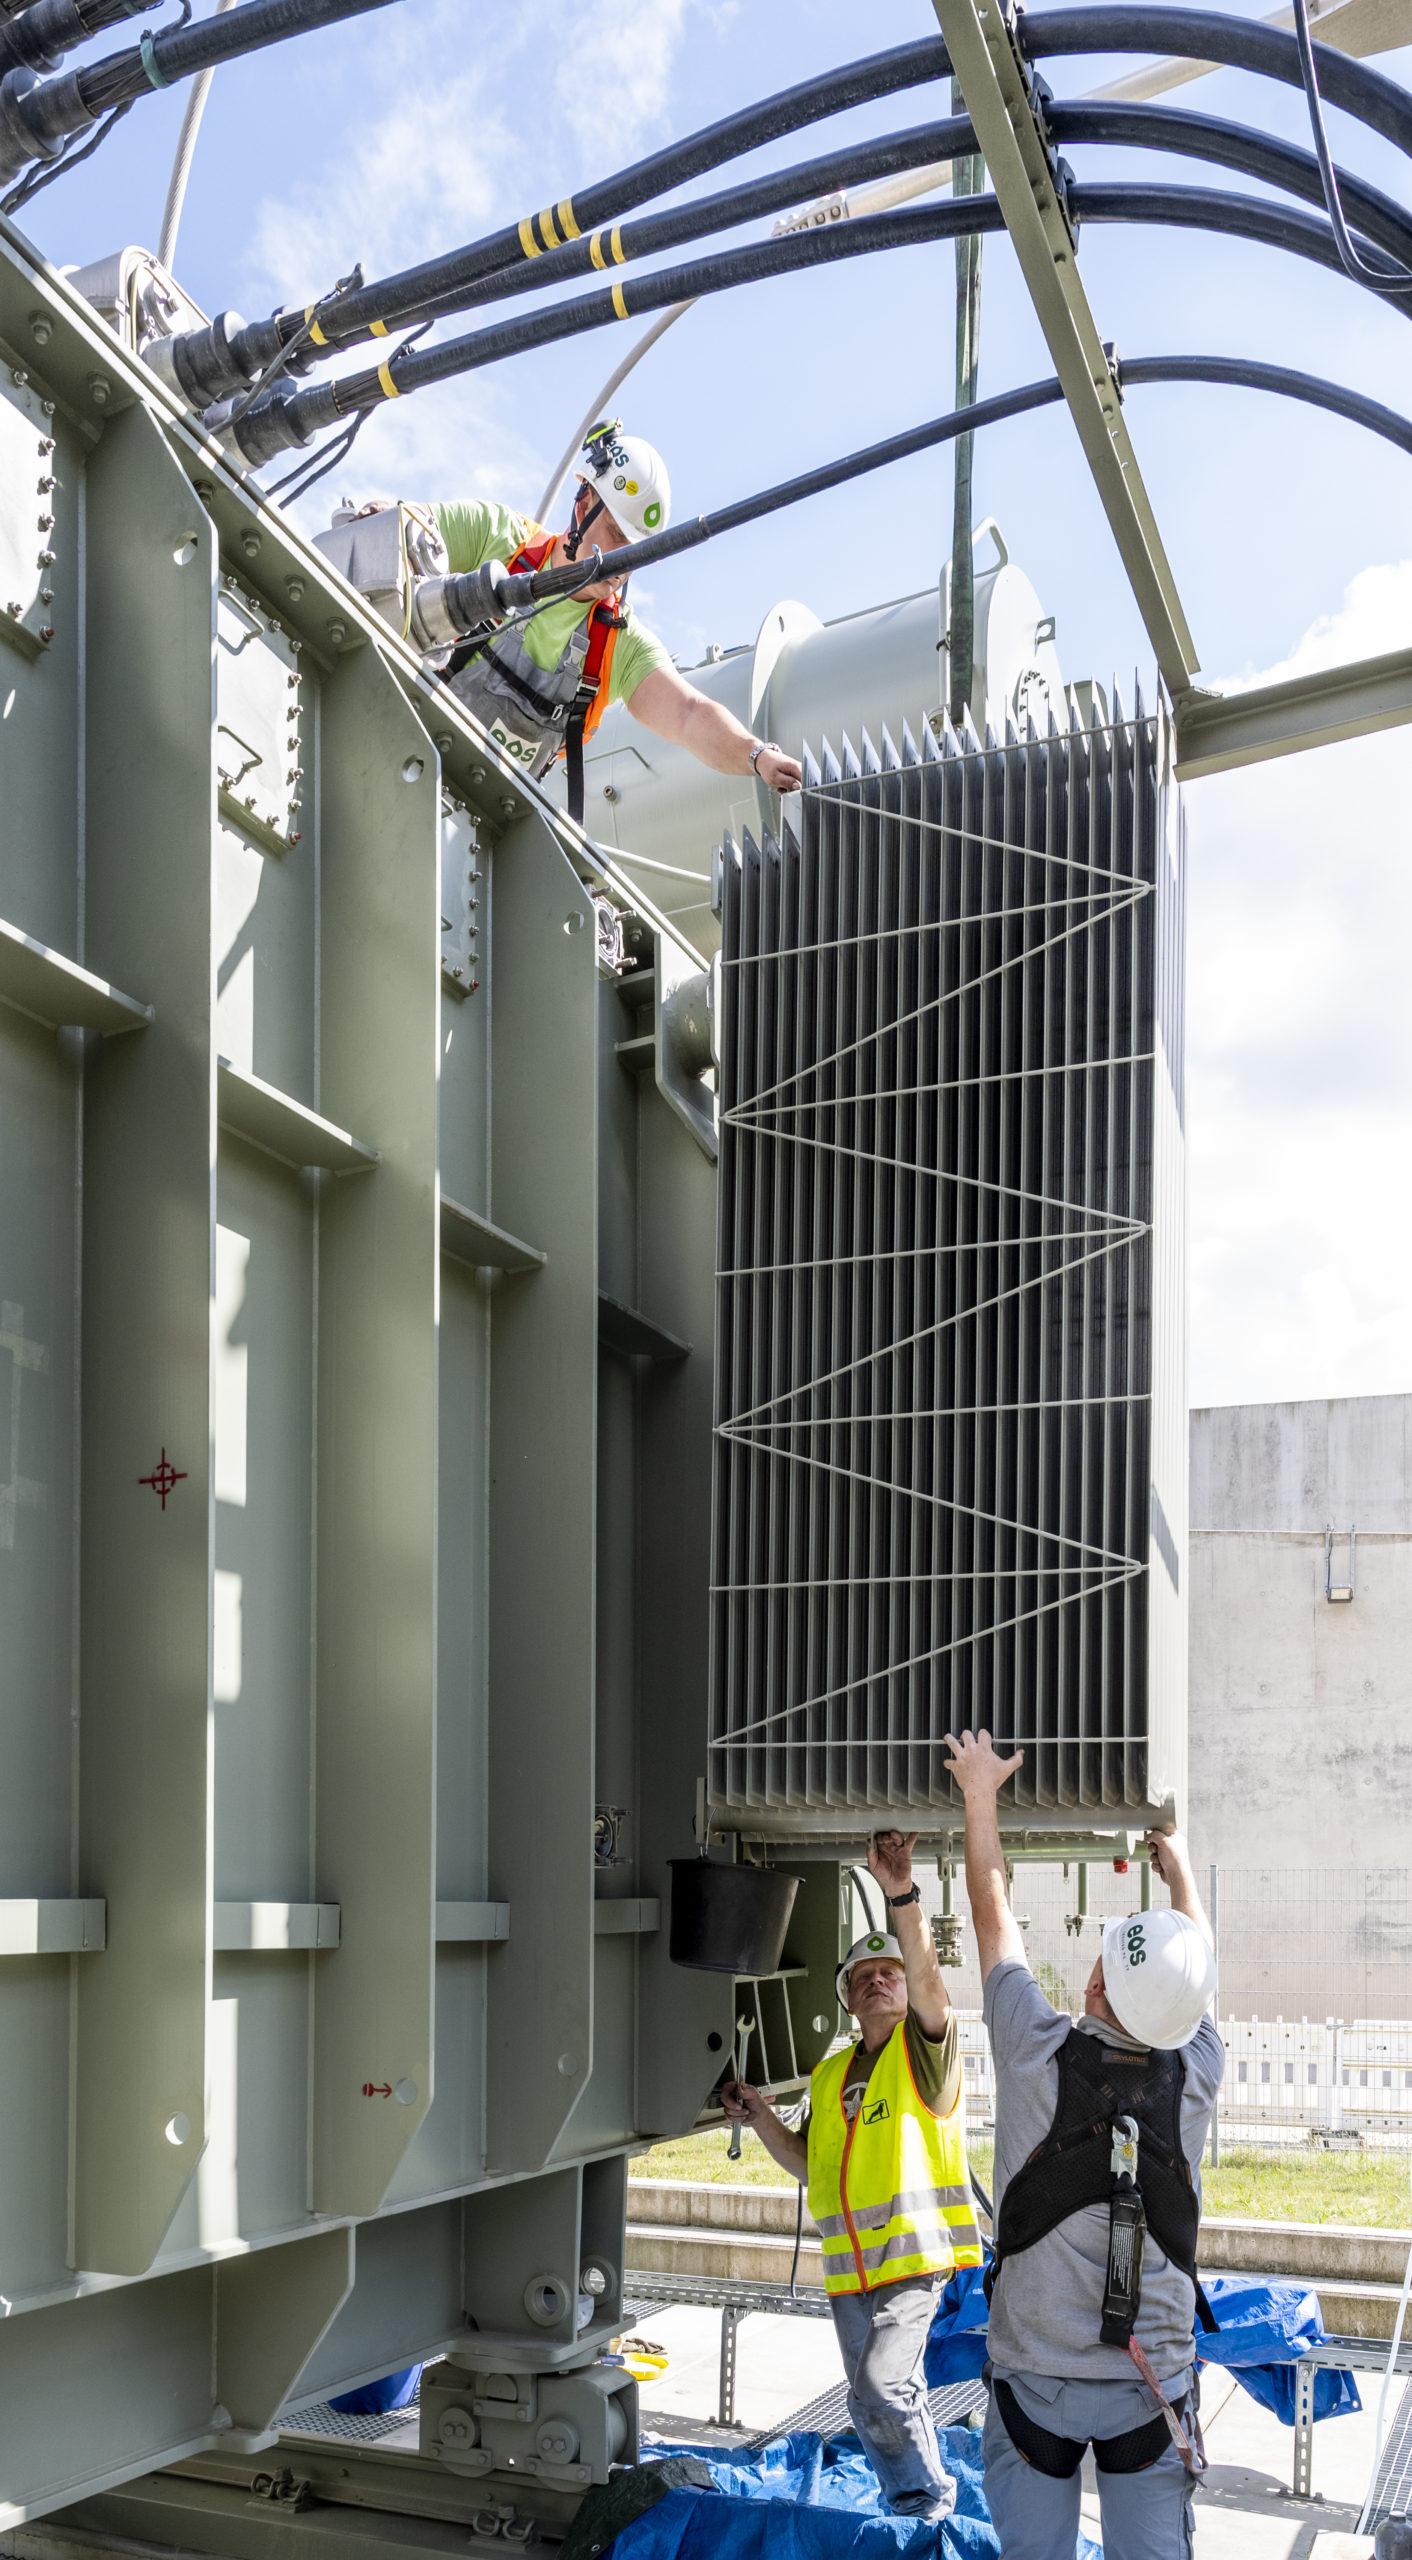
Step 2: Lifting and Positioning the Radiator

Correct Lifting Method

Radiators must always be lifted from:

✓ Designed lifting lugs

Never lift from:

× Radiator fins
× Header pipes
× Thin panel structures

Improper lifting can cause:

  • Panel deformation
  • Welding damage
  • Oil leakage risks

Position Alignment

During installation:

The radiator flange should align with transformer tank flange.

Engineers check:

  • Bolt hole position
  • Flange parallelism
  • Connection gap

Forced installation should never be used.

Step 3: Install Sealing Gasket

The sealing gasket is one of the most important components.

Professional installation requires:

  • Original manufacturer gasket
  • Correct material selection
  • Proper positioning

Common gasket materials:

  • Nitrile rubber
  • Oil-resistant sealing materials

The gasket must:

  • Match flange size
  • Remain flat
  • Avoid blocking oil passages

Step 4: Bolt Tightening Procedure

Bolt tightening directly affects sealing reliability.

Correct Tightening Sequence

Bolts should be tightened using:

Diagonal Cross Pattern

Example:

For 8 bolts:

1 → 5 → 3 → 7 → 2 → 6 → 4 → 8

This ensures:

  • Even gasket compression
  • Uniform sealing pressure
  • Reduced flange deformation

Step 5: Torque Control

Professional installation requires staged tightening.

Recommended Procedure:

First Stage

50% designed torque

Second Stage

80% designed torque

Final Stage

100% designed torque

After tightening:

Engineers check:

  • Bolt marking
  • Torque record
  • Flange gap

Step 6: Install Connecting Pipes and Accessories

For multiple radiator groups:

Additional components may include:

  • Oil pipes
  • Butterfly valves
  • Connection flanges

Important requirements:

  • Avoid pipe stress
  • Maintain alignment
  • Use proper supports

Incorrect pipe installation may transfer mechanical stress to the radiator.

Step 7: Leakage and Pressure Testing

Quality inspection does not end after mechanical installation.

Radiastar recommends complete sealing verification.

Air Tightness Test

Typical procedure:

  • Apply controlled pressure
  • Maintain pressure for specified time
  • Check flange connections

Inspection points:

  • Flange sealing surface
  • Bolt area
  • Welding joints

Oil Leakage Inspection

After oil filling:

Monitor:

  • Oil level
  • Connection points
  • Sealing performance

A qualified installation should show:

✓ No oil leakage
✓ No abnormal pressure drop
✓ Stable operation

5. Final Inspection Before Transformer Operation

After installation, engineers check:

Mechanical Inspection

Including:

  • Radiator vertical alignment
  • Bolt tightening status
  • Support stability

Oil System Inspection

Check:

  • Oil circulation
  • Air release
  • Oil cleanliness

Air trapped inside radiator panels may reduce cooling performance.

6. Transformer Radiator Commissioning Test

No-load Operation Test

During initial operation:

Monitor:

  • Oil temperature
  • Radiator temperature
  • Leakage condition

Load Operation Test

Under operating load:

Engineers evaluate:

  • Heat dissipation performance
  • Oil circulation efficiency
  • Operating stability

7. Common Installation Mistakes and How to Avoid Them

Mistake 1: Reusing Old Gaskets

Problem:

Old gasket loses elasticity.

Result:

Oil leakage.

Solution:

Always replace with new sealing gasket.

Mistake 2: Incorrect Bolt Tightening

Problem:

Uneven pressure.

Result:

Flange leakage.

Solution:

Use calibrated torque tools.

Mistake 3: Forced Alignment

Problem:

Incorrect flange positioning.

Result:

Mechanical stress.

Solution:

Adjust installation position instead of forcing bolts.

Mistake 4: Ignoring Air Release

Problem:

Air remains inside radiator.

Result:

Reduced cooling efficiency.

Solution:

Proper venting during oil filling.

8. Radiastar Engineering Support for Transformer Cooling Systems

At Radiastar, transformer radiator manufacturing is based on:

Engineering Design Experience

We focus on:

  • Heat dissipation efficiency
  • Oil circulation design
  • Structural reliability

Manufacturing Control

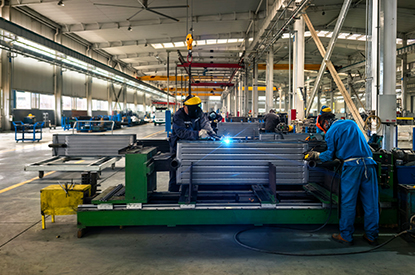
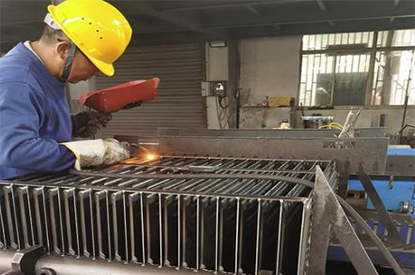
Our production process covers:

  • Steel forming
  • Welding
  • Leak testing
  • Surface treatment
  • Painting
  • Final inspection

Quality Assurance

Each radiator system is verified through:

  • Pressure testing
  • Dimension inspection
  • Coating inspection
  • Final quality checks

Conclusion: Professional Installation Ensures Long-Term Transformer Reliability

A transformer radiator is a precision cooling component that requires professional installation.

Correct installation ensures:

✓ Reliable oil circulation
✓ Effective heat dissipation
✓ Leak-free operation
✓ Longer transformer service life

From design and manufacturing to installation support, Radiastar provides reliable transformer cooling solutions for global customers.

If you are looking for a professional Transformer Radiator Manufacturer or customized transformer cooling solution, contact Radiastar engineering team for technical support.

FAQ

1. What is a transformer radiator used for?

A transformer radiator removes heat generated by transformer oil and maintains safe operating temperature.

2. How do you install a transformer radiator?

Installation includes positioning, flange connection, gasket installation, bolt tightening, pressure testing and commissioning.

3. Why does transformer radiator installation require torque control?

Correct torque ensures uniform gasket compression and prevents oil leakage.

4. What causes transformer radiator oil leakage?

Common causes include:

  • Damaged gasket
  • Incorrect bolt torque
  • Poor flange alignment

5. How do you test transformer radiator sealing performance?

Manufacturers use air pressure testing and oil leakage inspection.
Share:

Submit Technical Specifications/Drawings — Get a Quote Now!

If you are interested in our products,, please send us a message and we will contact you as soon as we receive it. Email: info@radiastar.com whatsApp: +86 16650273776

    Related Product

    +86 16650273776
    info@radiastar.com
    +86 16650273776

    Quick Quote Submission

    Fill the form for transformer tank & radiator quotes. Fast reply guaranteed.

      X