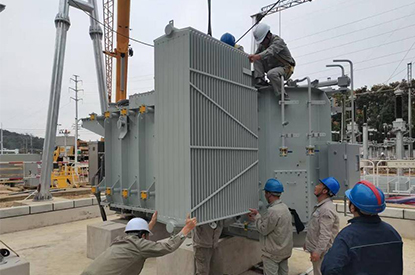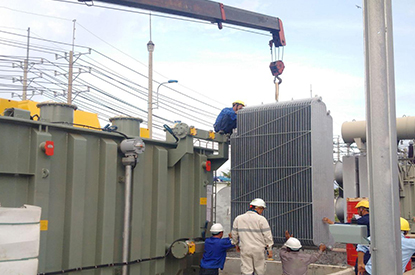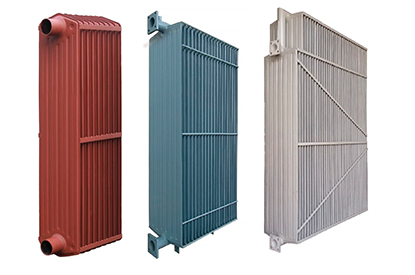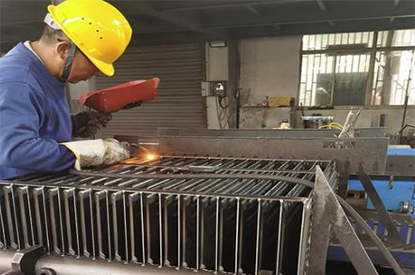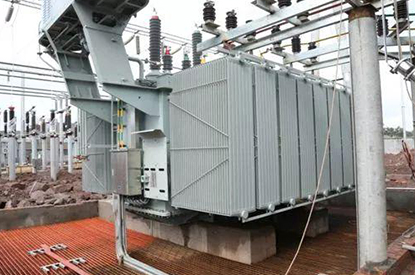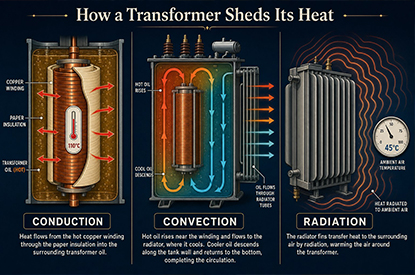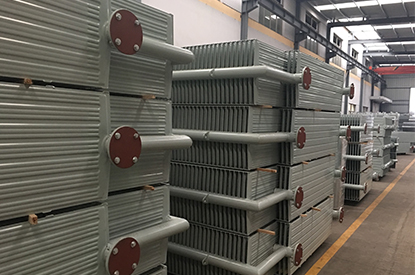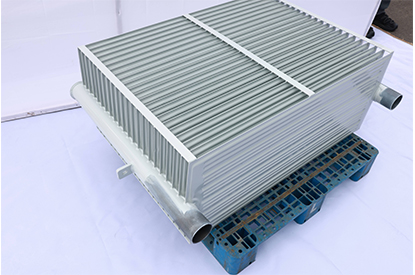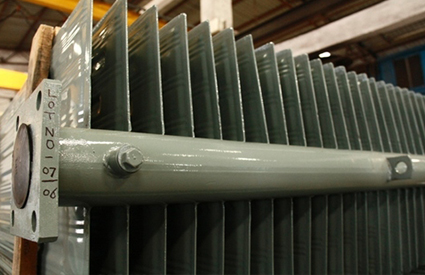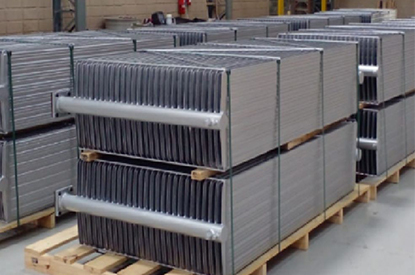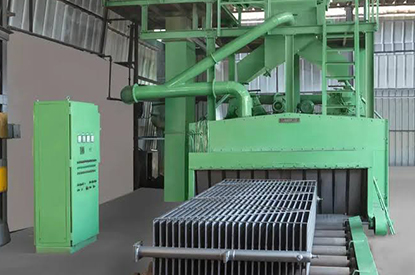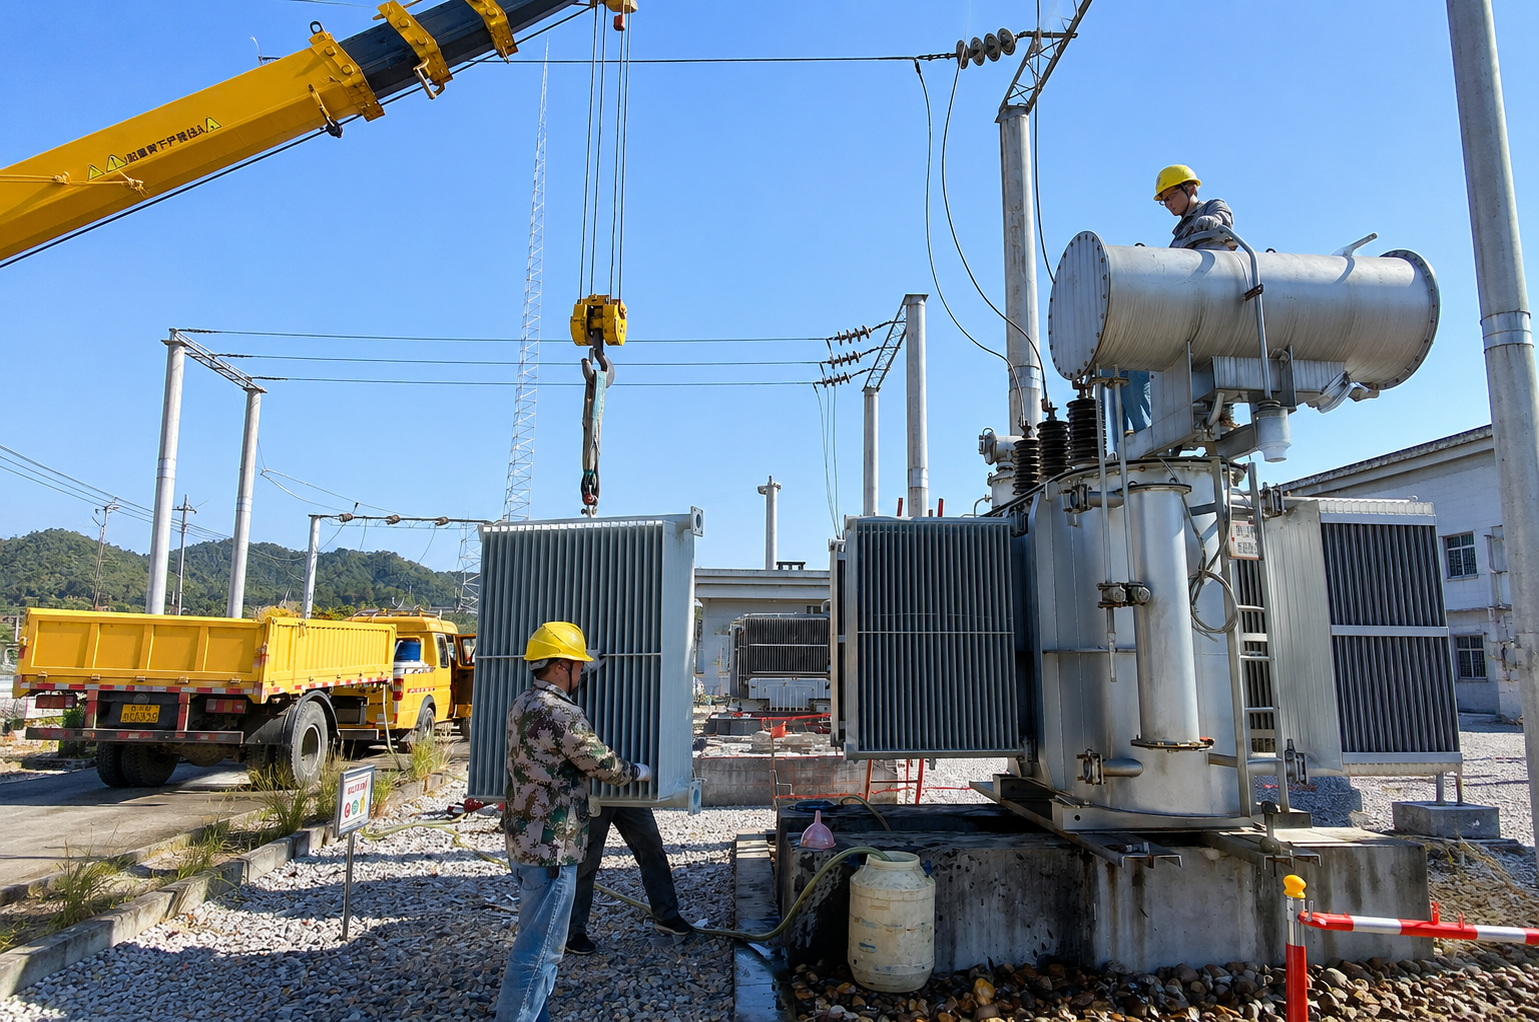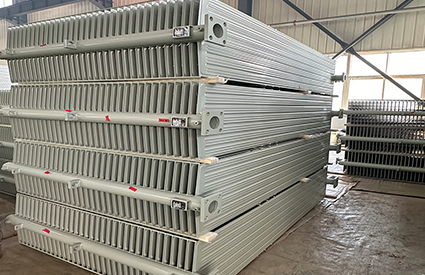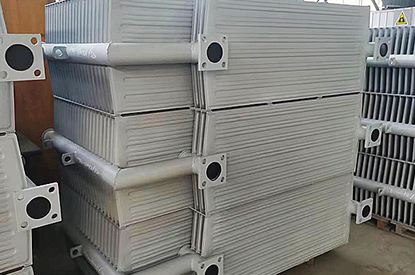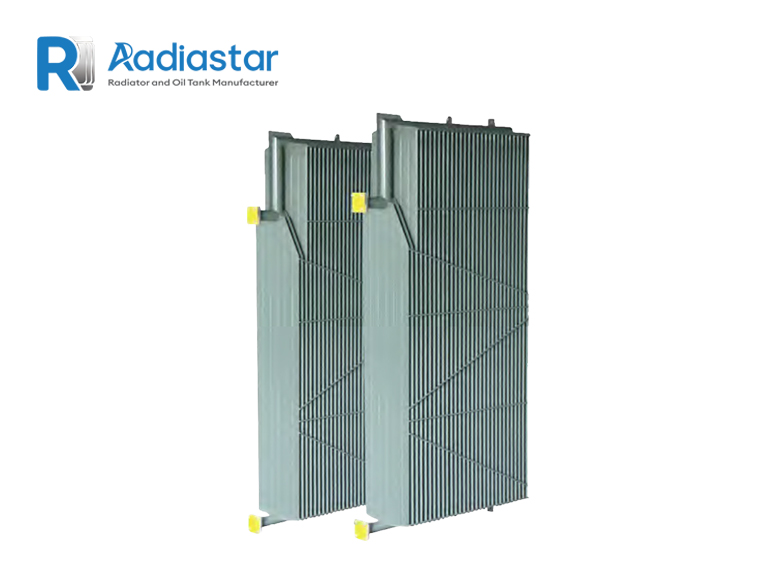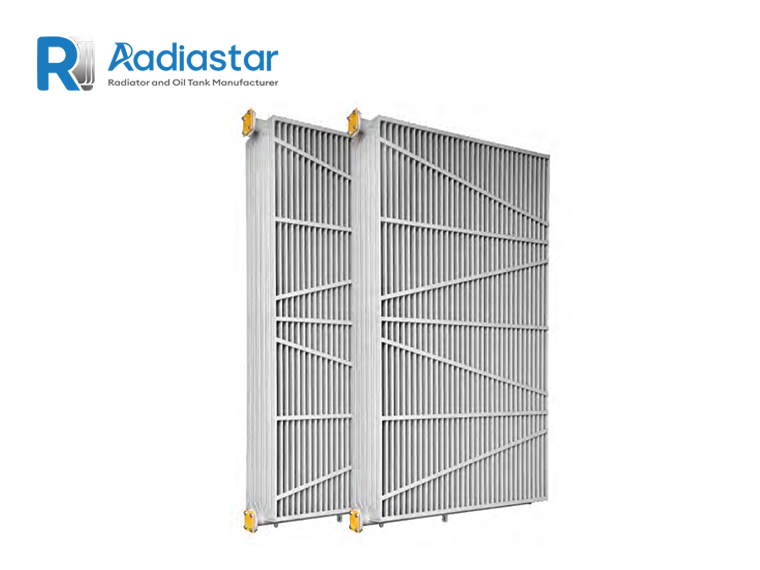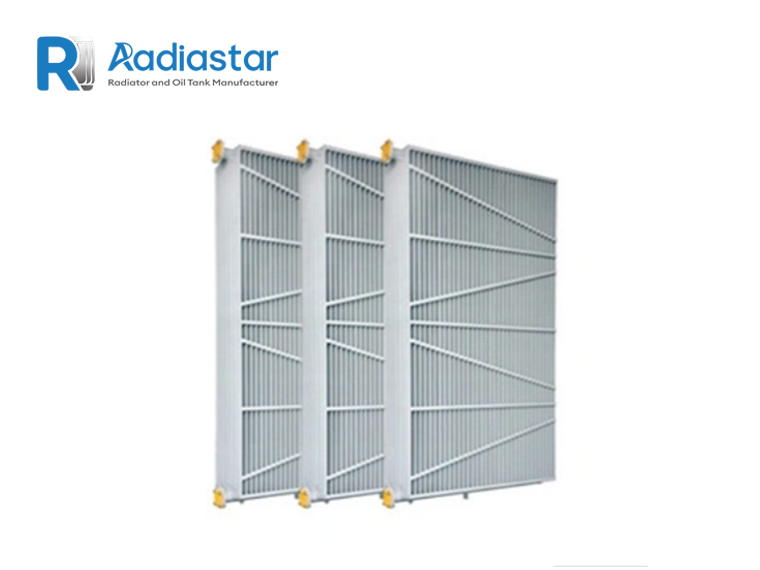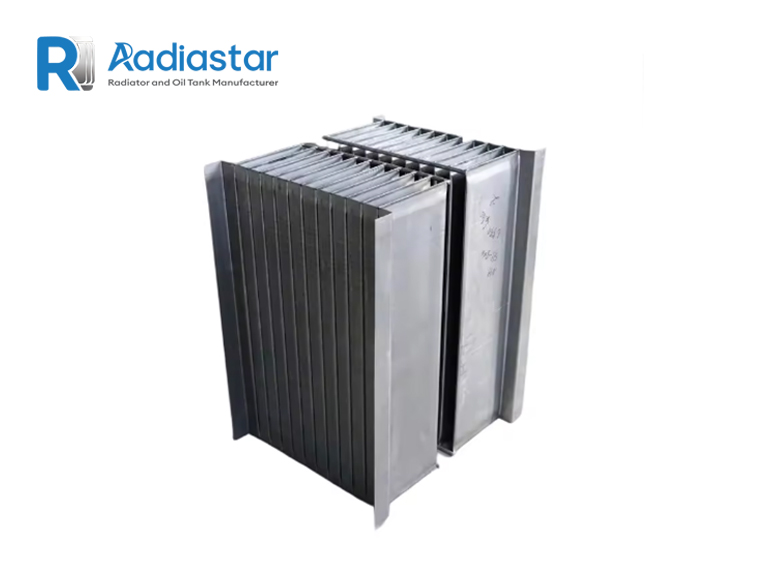

A transformer radiator is not simply a heat-transfer component. For a liquid-immersed transformer, it is also part of the oil containment and cooling circuit. Every radiator panel, header, weld, flange and connection must remain oil-tight throughout transportation, installation and operation.
A radiator that leaks can cause much more than an external oil stain. Transformer oil performs both cooling and electrical insulation functions, so loss of oil can affect transformer thermal performance and, depending on the location and severity of the leak, the overall reliability of the transformer.
This is why transformer radiator leak testing should be treated as a controlled manufacturing process rather than a simple final inspection.
For removable radiators used on liquid-immersed power transformers, IEC 60076-22-2:2019 specifies mechanical and operational requirements as well as type and routine tests. The standard specifically includes routine tightness tests for removable radiators.
The most reliable approach is not merely to test a completed radiator at the end of production. Leakage should be prevented progressively through:
Material control → forming control → welding control → intermediate leak testing → assembly control → final pressure/tightness test → surface treatment → final inspection
This article explains the complete process from the perspective of transformer OEMs, EPC contractors, engineering companies and international procurement teams.
A transformer radiator leak test verifies that the radiator does not allow air, oil or another test medium to escape through unintended openings under the specified test conditions.
Potential leakage locations include:
The fundamental objective is:
No detectable leakage under the specified test conditions.
IEC 60076-22-2:2019 gives several routine tightness-test options. These include a hydraulic test using transformer oil at 60 °C ± 5 °C and 200 kPa for 3 hours, or pneumatic tests under water at 200 kPa for at least 30 minutes or 500 kPa for at least 5 minutes. The standard’s acceptance criterion for these listed methods is that no leakage is detected by visual inspection during the specified test period.
Different testing procedures may also be agreed between the purchaser and manufacturer.
This last point is important in international procurement: the project specification should define the required test, rather than assuming that every factory uses an identical procedure.
A transformer radiator normally contains insulating oil.
The radiator therefore forms part of a closed oil circuit:
Transformer tank
↓
Upper oil connection
↓
Radiator
↓
Cooling elements
↓
Lower oil connection
↓
Transformer tank
If the radiator develops a leak, several problems can occur.
Continuous leakage reduces the quantity of insulating and cooling oil.
The radiator may not operate correctly if oil circulation is affected.
Transformer oil leakage can contaminate the surrounding area.
A leaking radiator may require removal, repair, repainting and retesting.
A serious leak may require the transformer to be taken out of service.
For these reasons, radiator leak prevention should start during manufacturing, not after the radiator has already been assembled.
A common misunderstanding is:
“If the radiator passes the final leak test, the manufacturing process is good.”
Not necessarily.
A high-quality production system attempts to prevent leakage at every manufacturing stage.
A professional process can be structured as:
Raw material inspection
↓
Steel sheet preparation
↓
Panel forming
↓
Individual element welding
↓
Intermediate leak test
↓
Header preparation
↓
Radiator assembly
↓
Header-to-element welding
↓
Flange welding
↓
Complete radiator leak test
↓
Pressure/tightness verification
↓
Surface treatment
↓
Final inspection
This approach reduces the probability that a hidden manufacturing defect will reach the final stage.
Published radiator manufacturing processes also describe individual-fin leak testing before radiator assembly, followed by leak testing of the completed radiator assembly.
Leak prevention begins with the steel sheet.
Transformer radiator panels are typically manufactured from formed steel components. The material must have consistent:
Poor-quality raw material can create problems later during forming or welding.
Before production, manufacturers should verify the material against the approved specification.
Typical incoming inspection may include:
For export projects, buyers may request Material Test Certificates (MTC/MTR).
The objective is traceability:
The steel used to manufacture the radiator should be traceable to the finished radiator.
The steel sheet is cut according to the approved manufacturing drawing.
Cutting accuracy affects:
Poor cutting can produce:
These conditions increase the probability of weld defects.
Therefore, dimensional control at the cutting stage contributes directly to leak prevention.
The flat steel sheet is formed into the required radiator geometry.
Depending on the radiator design, this can involve:
The forming process must produce a consistent internal oil passage.
The panel should not have:
This is particularly important because a radiator panel is simultaneously:
a pressure boundary
and
a heat-transfer surface.
A manufacturing process that creates excessive local deformation can compromise both functions.
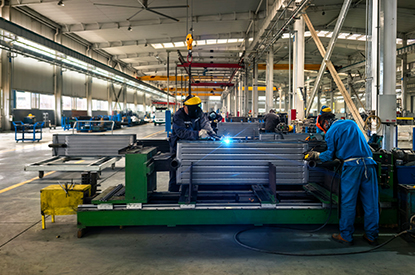
The formed sheets are joined to create the individual radiator element.
This is one of the most critical manufacturing stages.
Potential defects include:
A radiator can look visually acceptable while still containing a microscopic leakage path.
Therefore, welding quality should be controlled through:
For automated or robotic welding, consistent positioning and repeatable parameters can further reduce process variation.
Radiator manufacturing sources describe processes involving automatic seam welding and individual-element leak testing before assembly.
For a pressed-panel radiator, the steel itself is usually not the primary leakage concern.
The critical areas are generally the joints and welded connections.
Think of the radiator as:
Steel panel
Weld seam
Header
Flange
Connection
The weakest manufacturing link can determine the overall leak-tightness.
For this reason, professional manufacturers should pay particular attention to:
The seam should be continuous where the design requires a sealed oil passage.
Insufficient penetration can leave a leakage path.
Excessive heat can cause distortion or burn-through.
Oil, grease, rust, moisture or contamination can negatively affect weld quality.
Incorrect alignment can create inconsistent weld geometry.
One of the strongest manufacturing practices is to test individual radiator elements before they are assembled into the complete radiator.
Why?
Because if the completed radiator leaks, locating the source can be difficult.
If the individual panel is tested first:
Element A → PASS
Element B → PASS
Element C → PASS
then the manufacturer has already eliminated a large portion of possible leakage sources.
Published radiator manufacturing procedures describe pressure/leak testing of individual fins before assembly, followed by testing of the complete radiator assembly after welding.
This is a very useful principle for quality control:
Test critical subassemblies before they become difficult to inspect.
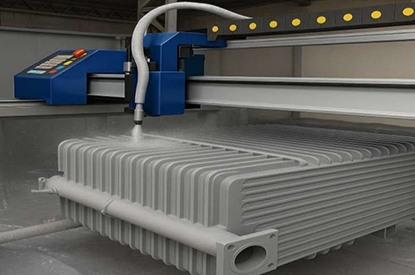
One practical leak-detection method is the soap-bubble test.
The principle is straightforward.
The component is pressurized with air.
A suitable leak-detection solution is applied to suspected areas.
If a leakage path exists:
Pressurized air
↓
Leakage point
↓
Gas escapes
↓
Bubbles form
The method is particularly useful for identifying:
However, the test pressure and procedure should follow the applicable manufacturing specification or standard.
It should not be assumed that an informal soap solution test automatically satisfies IEC 60076-22-2.
Another effective production method is submerged testing.
The radiator or radiator element is pressurized with air and placed under water.
If there is a leak:
Internal air pressure
↓
Leakage through defect
↓
Visible bubbles in water
This method provides a clear visual indication of leakage.
Some radiator production procedures use both local soap-bubble inspection and a submerged water test after complete assembly.
For manufacturing control, submerged testing can be especially useful because the entire surface can be observed.
After the radiator elements are assembled, the upper and lower headers are welded into position.
Additional components may include:
Every new welded joint introduces another potential leakage path.
Therefore, the complete radiator should undergo another leak/tightness test.
The test should cover:
Radiator manufacturing documentation commonly describes a complete-assembly leak test after the header and element welding process.
For removable radiators, IEC 60076-22-2:2019 is the key international reference.
The standard specifies three alternative routine tightness-test methods:
| Method | Condition | Duration |
|---|---|---|
| Hydraulic | Transformer oil, 60 ± 5°C, 200 kPa | 3 h |
| Pneumatic under water | Compressed air, 200 kPa | ≥30 min |
| Pneumatic under water | Compressed air, 500 kPa | ≥5 min |
For these methods, the acceptance criterion is no leakage detected by visual inspection during the specified period.
The standard allows different procedures to be agreed between purchaser and manufacturer.
This means the correct procurement practice is:
Specify the applicable standard and agreed test method in the technical specification.
Hydraulic testing uses a liquid test medium.
The IEC 60076-22-2 hydraulic tightness method specifies transformer oil at:
60 °C ± 5 °C
and:
200 kPa
for:
3 hours.
The manufacturer should control:
The radiator is visually inspected during the test period.
Hydraulic testing is particularly useful when the customer specification requires testing under an oil-related condition.
Pneumatic testing uses compressed air.
IEC 60076-22-2 gives two pneumatic tightness alternatives:
200 kPa
for at least:
30 minutes
500 kPa
for at least:
5 minutes
The radiator is tested under water and inspected for visible leakage.
Compressed-air testing requires appropriate factory safety procedures because compressed gas stores significantly more energy than a comparable liquid-filled system.
The test area, fixtures and pressure-control equipment must therefore be designed for the intended pressure.
When comparing radiator suppliers, buyers often ask:
“What pressure can your radiator withstand?”
This is not sufficient.
A professional specification should define:
For example:
0.8 MPa for 10 minutes
and:
0.2 MPa for 3 hours
are completely different test conditions.
Therefore, the numerical pressure value should never be considered independently.
These terms are closely related but should be distinguished.
Focus:
Does the radiator leak?
Focus:
Does the radiator maintain integrity under a specified pressure condition?
Focus:
Can the radiator remain sealed under the defined test condition?
IEC 60076-22-2 specifically refers to tightness tests in its routine-test requirements.
For international technical documents, using the correct terminology improves clarity.
The best radiator manufacturers do not depend on final testing alone.
Leak prevention should be built into the process.
Incorrect or inconsistent thickness can affect forming and welding.
Avoid:
Welding should be performed according to controlled procedures.
Fixtures maintain:
Test individual elements before final assembly.
Header-to-element joints are critical.
Every finished radiator should be tested according to the agreed inspection plan.
A radiator that passes a leak test can still be damaged afterward.
Therefore:
Testing → coating → handling → packaging
must all be controlled.
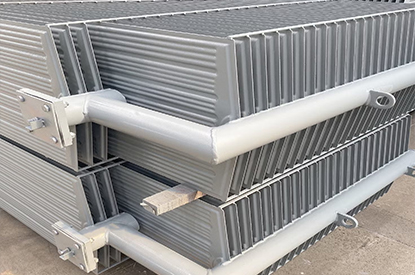
The upper and lower headers connect multiple radiator elements.
This makes header welding one of the most important manufacturing stages.
A radiator may have dozens of individual elements, meaning there can be many element-to-header joints.
A single defective weld can cause leakage.
Therefore, the header assembly process should control:
Fixtures are particularly important.
They help ensure that the radiator elements remain correctly positioned during welding.
The radiator’s flange is the interface between the radiator and the transformer tank.
The flange must provide:
A radiator can pass a panel leak test but still leak around the flange.
Therefore, the complete radiator test must include the final flange and connection arrangement.
For replacement projects, buyers should provide the original:
This significantly reduces installation risk.
Dimensional accuracy is sometimes considered separate from leak prevention.
In reality, the two are connected.
If radiator components are poorly aligned:
Therefore, dimensional inspection should be performed before and after assembly.
Typical measurements include:
Welding introduces heat.
Uneven heat input can cause distortion.
If distortion becomes excessive, it can affect:
A controlled welding sequence helps reduce deformation.
This is one reason professional radiator factories use:
The objective is not simply to produce a strong weld.
It is to produce a strong, continuous and dimensionally stable sealed joint.
Suppose a leak is discovered during final testing.
The radiator may require repair.
Repair welding should never be treated as simply:
“Weld the hole and test again.”
The manufacturer should:
If the repaired area is coated before retesting, the coating may conceal the defect.
Therefore, leak testing should generally be completed before final external surface treatment, subject to the approved manufacturing process.
Industry specifications commonly place leak testing before external surface preparation and painting.
This is an important manufacturing principle.
Consider:
Radiator welding
↓
Leak testing
↓
Surface preparation
↓
Painting
This sequence allows defects to be detected while welds remain accessible.
If the radiator is painted first, a coating may:
Therefore, the leak-test stage should be incorporated into the manufacturing sequence before final coating.
Leak-free does not mean production is complete.
The radiator interior must also be free of:
IEC 60076-22-2 includes requirements relating to preparation for transport and storage and emphasizes protection against contamination and moisture ingress.
This matters because the radiator will eventually be connected to transformer insulating oil.
Foreign particles or moisture inside the radiator can negatively affect transformer oil quality.
Therefore:
Leak-free + clean + dry
is the appropriate target.
After fabrication and testing, internal surfaces may require appropriate protection according to the project specification.
The manufacturer must ensure compatibility with:
Any internal coating process must be controlled carefully because coating defects or loose particles can contaminate transformer oil.
The sequence should therefore be clearly defined in the manufacturing specification.
External surface treatment primarily protects against corrosion.
Typical processes may include:
Degreasing
↓
Surface preparation
↓
Primer
↓
Intermediate coating
↓
Topcoat
The coating system should be selected according to the installation environment.
For example:
However, coating is not a substitute for leak testing.
The correct sequence is:
First establish leak-tight integrity; then establish long-term corrosion protection.
If any leakage is detected, the radiator should not simply be marked as repaired.
The critical point is:
The repaired radiator must pass the applicable final leak/tightness requirement again.
This should be documented.
A useful traceability record includes:
This allows the manufacturer and buyer to understand the product history.
For international procurement, one of the most valuable questions is:
Is every radiator tested individually?
A manufacturer may say:
“Our radiators are pressure tested.”
That statement does not tell the buyer whether:
Radiastar currently states that its transformer radiators undergo 100% factory pressure testing, together with leakage inspection.
For an export purchase order, the required inspection frequency should still be explicitly written into the technical specification.
A professional test report should provide traceability.
Recommended information includes:
| Item | Example |
|---|---|
| Product | Transformer Radiator |
| Model | Customer-specific |
| Serial/Lot No. | Traceable |
| Drawing No. | Approved drawing |
| Test method | Hydraulic / Pneumatic |
| Test medium | Oil / Air |
| Test pressure | Specified value |
| Test temperature | Where applicable |
| Holding time | Specified duration |
| Gauge No. | Identifiable |
| Calibration | Valid |
| Leakage | None detected |
| Visual inspection | PASS |
| Inspector | Name / ID |
| Date | Test date |
A report simply stating:
“Leak test: PASS”
is much less useful for an EPC project.
Before placing an order, procurement and engineering teams should ask:
These questions are much more meaningful than simply asking for a product catalogue.
The most common manufacturing-related causes can be summarized as follows.
A professional quality system addresses these failure modes individually.
The strongest manufacturing strategy is process prevention rather than final detection.
Consider two factories.
Produces radiator → finds leak → repairs → retests.
Controls:
Factory B is generally operating a stronger quality-control system because it reduces the probability of defects reaching the final stage.
The objective should therefore be:
Build leak-tightness into the manufacturing process.
For a high-quality pressed-panel radiator, the manufacturing flow can be organized as:
Confirm:
Verify material and thickness.
Prepare steel components.
Produce the radiator elements.
Create the sealed internal oil passages.
Reject defective elements before assembly.
Prepare upper and lower headers.
Use fixtures to maintain geometry.
Join elements to headers.
Complete the oil connections.
Verify the finished assembly.
Perform the agreed routine test.
Only after leak-tight integrity is established.
Apply the specified corrosion-protection system.
Check:
Protect the radiator during transportation.
Before shipment, the quality department should confirm:
For EPC and utility projects, the radiator should be included in the Inspection and Test Plan (ITP).
A typical ITP can include:
| Manufacturing Stage | Inspection | Responsibility |
|---|---|---|
| Raw material | Certificate / dimensions | Manufacturer |
| Forming | Dimensions / visual | Manufacturer |
| Welding | Visual / specified NDT | Manufacturer |
| Individual element | Leak test | Manufacturer |
| Assembly | Dimensions | Manufacturer |
| Complete radiator | Leak/tightness test | Manufacturer |
| Surface treatment | Coating inspection | Manufacturer |
| Final inspection | Full inspection | Manufacturer / Buyer |
| Documentation | Review | Manufacturer / Buyer |
Depending on the project, the purchaser may designate leak testing as a Witness Point (W) or Hold Point (H).
This gives the buyer control over critical quality stages.
The most relevant standard for removable transformer radiators is:
IEC 60076-22-2:2019
It applies to radiators mounted on liquid-immersed power transformers and reactors and includes mechanical requirements, operational requirements, preferred dimensions, type tests and routine tests.
For the routine tightness test, the standard provides the three methods described earlier.
However, customers may also have additional project-specific requirements.
Therefore, the recommended procurement wording is:
“Leak/tightness testing shall comply with IEC 60076-22-2:2019 and the approved project technical specification. Any alternative test method shall be agreed between purchaser and manufacturer before production.”
This is more precise than simply writing:
“Radiator must be pressure tested.”
Replacement radiators require additional attention.
The radiator may need to match an existing transformer exactly.
Before production, confirm:
A leak-free radiator that cannot be installed correctly is still an unacceptable replacement.
For replacement projects, the original radiator drawing or dimensional photograph can significantly reduce risk.
Radiastar’s published manufacturing process includes:
Steel sheet cutting
→ Hydraulic pressing
→ Corrugated fin forming
→ Robotic welding
→ Flange welding
→ Leak testing
→ Pressure testing
→ Surface treatment
→ Final inspection
→ Export packaging.
Its published quality-control information states that each 310 mm transformer radiator is checked for visual condition, dimensions, welding quality, air-pressure testing, hydraulic-pressure testing and leakage inspection.
This production philosophy is important because leakage prevention begins before the final test.
The objective is not simply to find leaks at the end of production, but to reduce the probability of leakage through controlled forming, welding and assembly processes.
A reliable transformer radiator is not created by pressure testing alone.
Leak-tight performance comes from the combination of:
High-quality steel
Accurate forming
Controlled welding
Correct assembly
Intermediate leak testing
Final pressure/tightness testing
Proper surface treatment
Controlled transportation
The most important principle is:
Leak prevention should be designed into the manufacturing process, while leak testing provides objective verification of the finished product.
For removable radiators, IEC 60076-22-2:2019 provides internationally recognized tightness-test requirements, including hydraulic and pneumatic alternatives and defined test durations.
For international buyers, the quality of a transformer radiator should therefore be evaluated through process capability + test procedure + test records + traceability, rather than through a simple statement such as “leak tested.”
| Buyer Concern | What to Confirm |
|---|---|
| Standard | IEC 60076-22-2:2019 / project specification |
| Test type | Hydraulic / pneumatic |
| Test pressure | Defined in technical specification |
| Holding time | Defined |
| Acceptance | No detectable leakage |
| Test frequency | Preferably 100% where specified |
| Individual element test | Required where applicable |
| Complete radiator test | Required |
| Welding inspection | Required |
| Pressure gauge | Calibrated |
| Material traceability | Required |
| Dimensional inspection | Required |
| Test report | Required |
| ITP | Recommended |
| Final coating | After leak-tight integrity is established |
| Export protection | Required |